


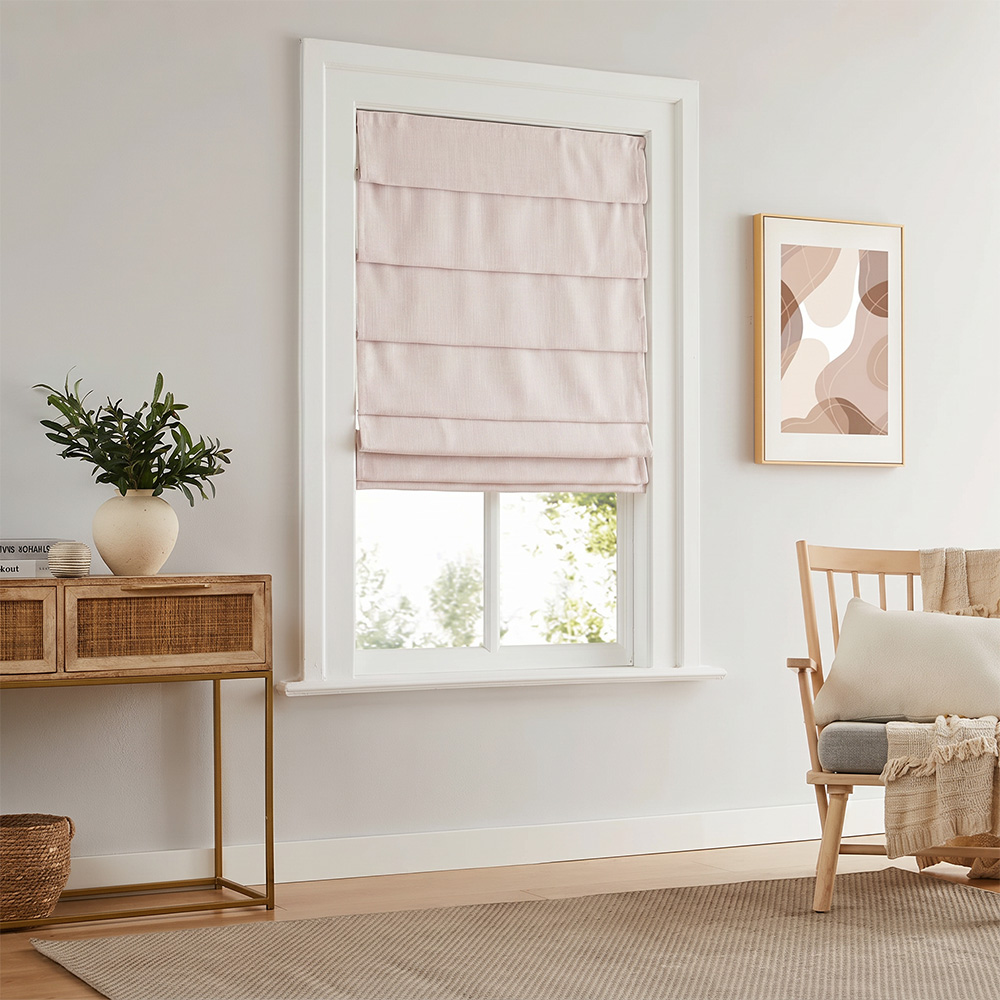
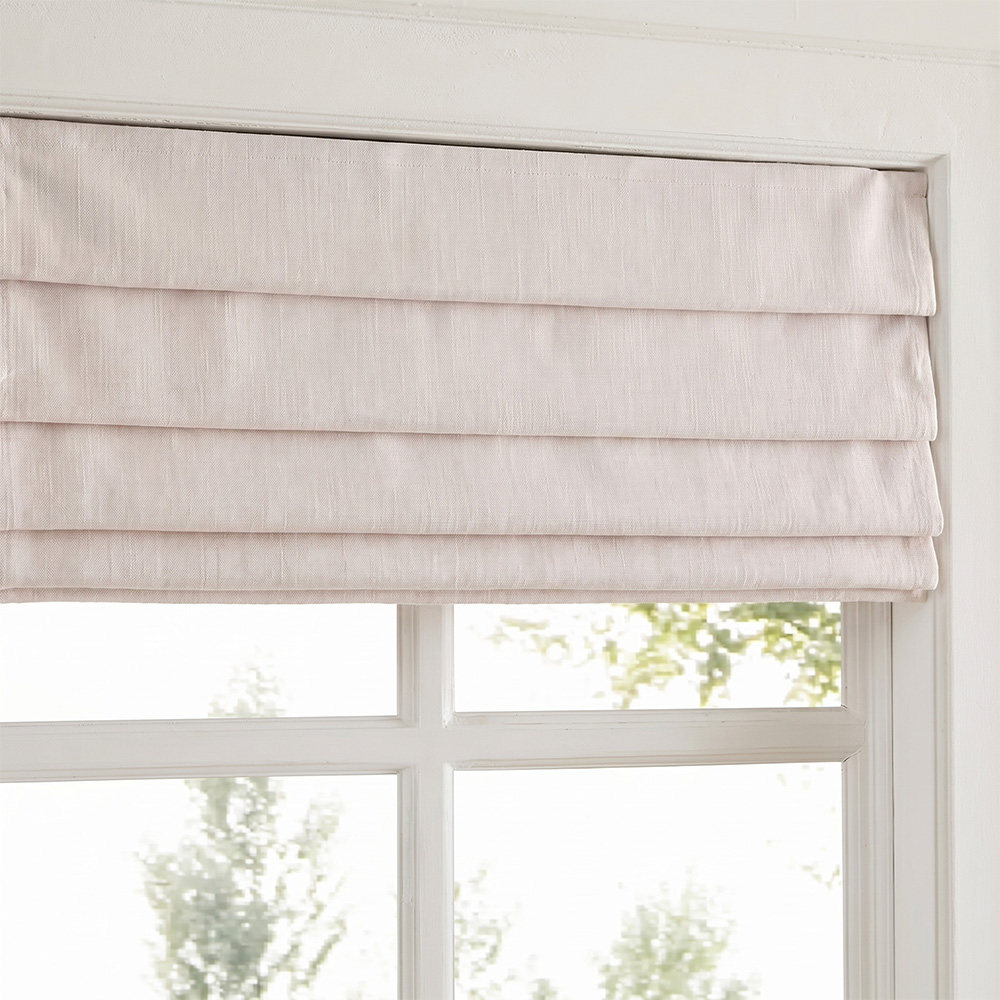


No-Drill Shades
Easy Installing in Just 3 Steps
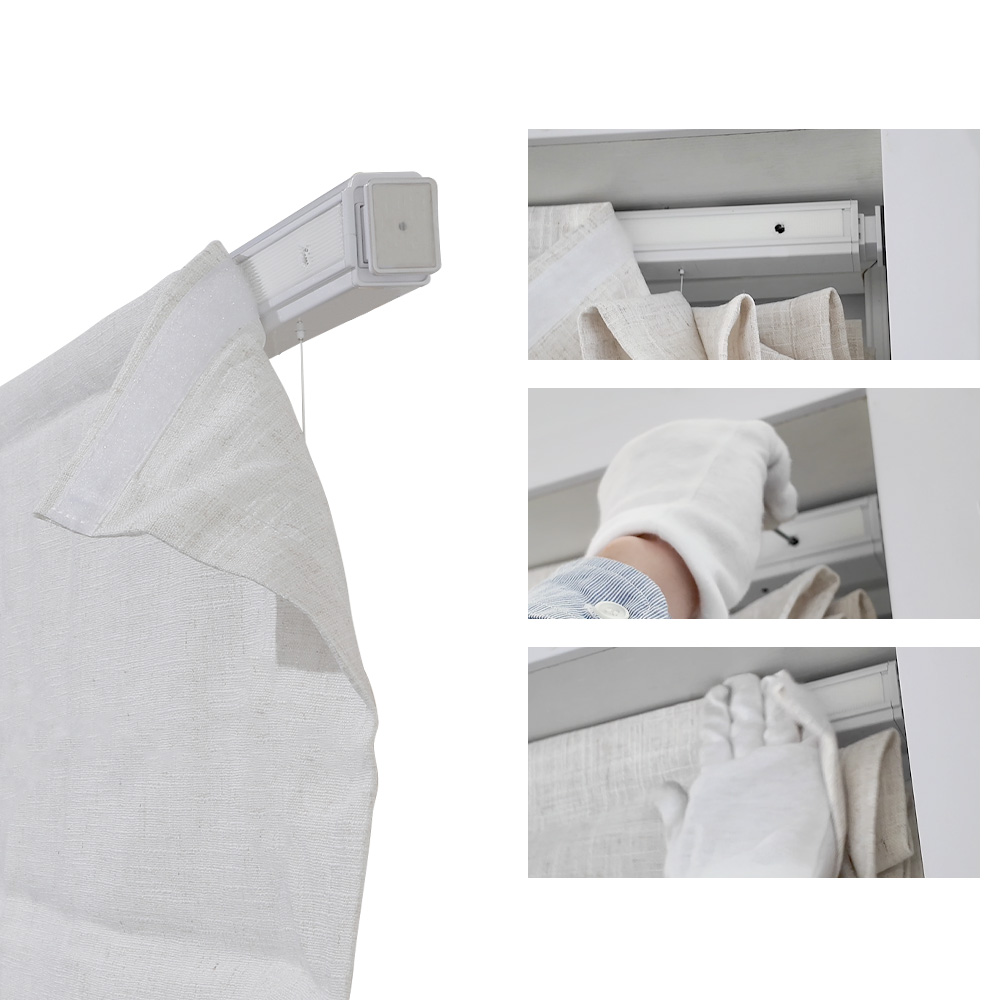
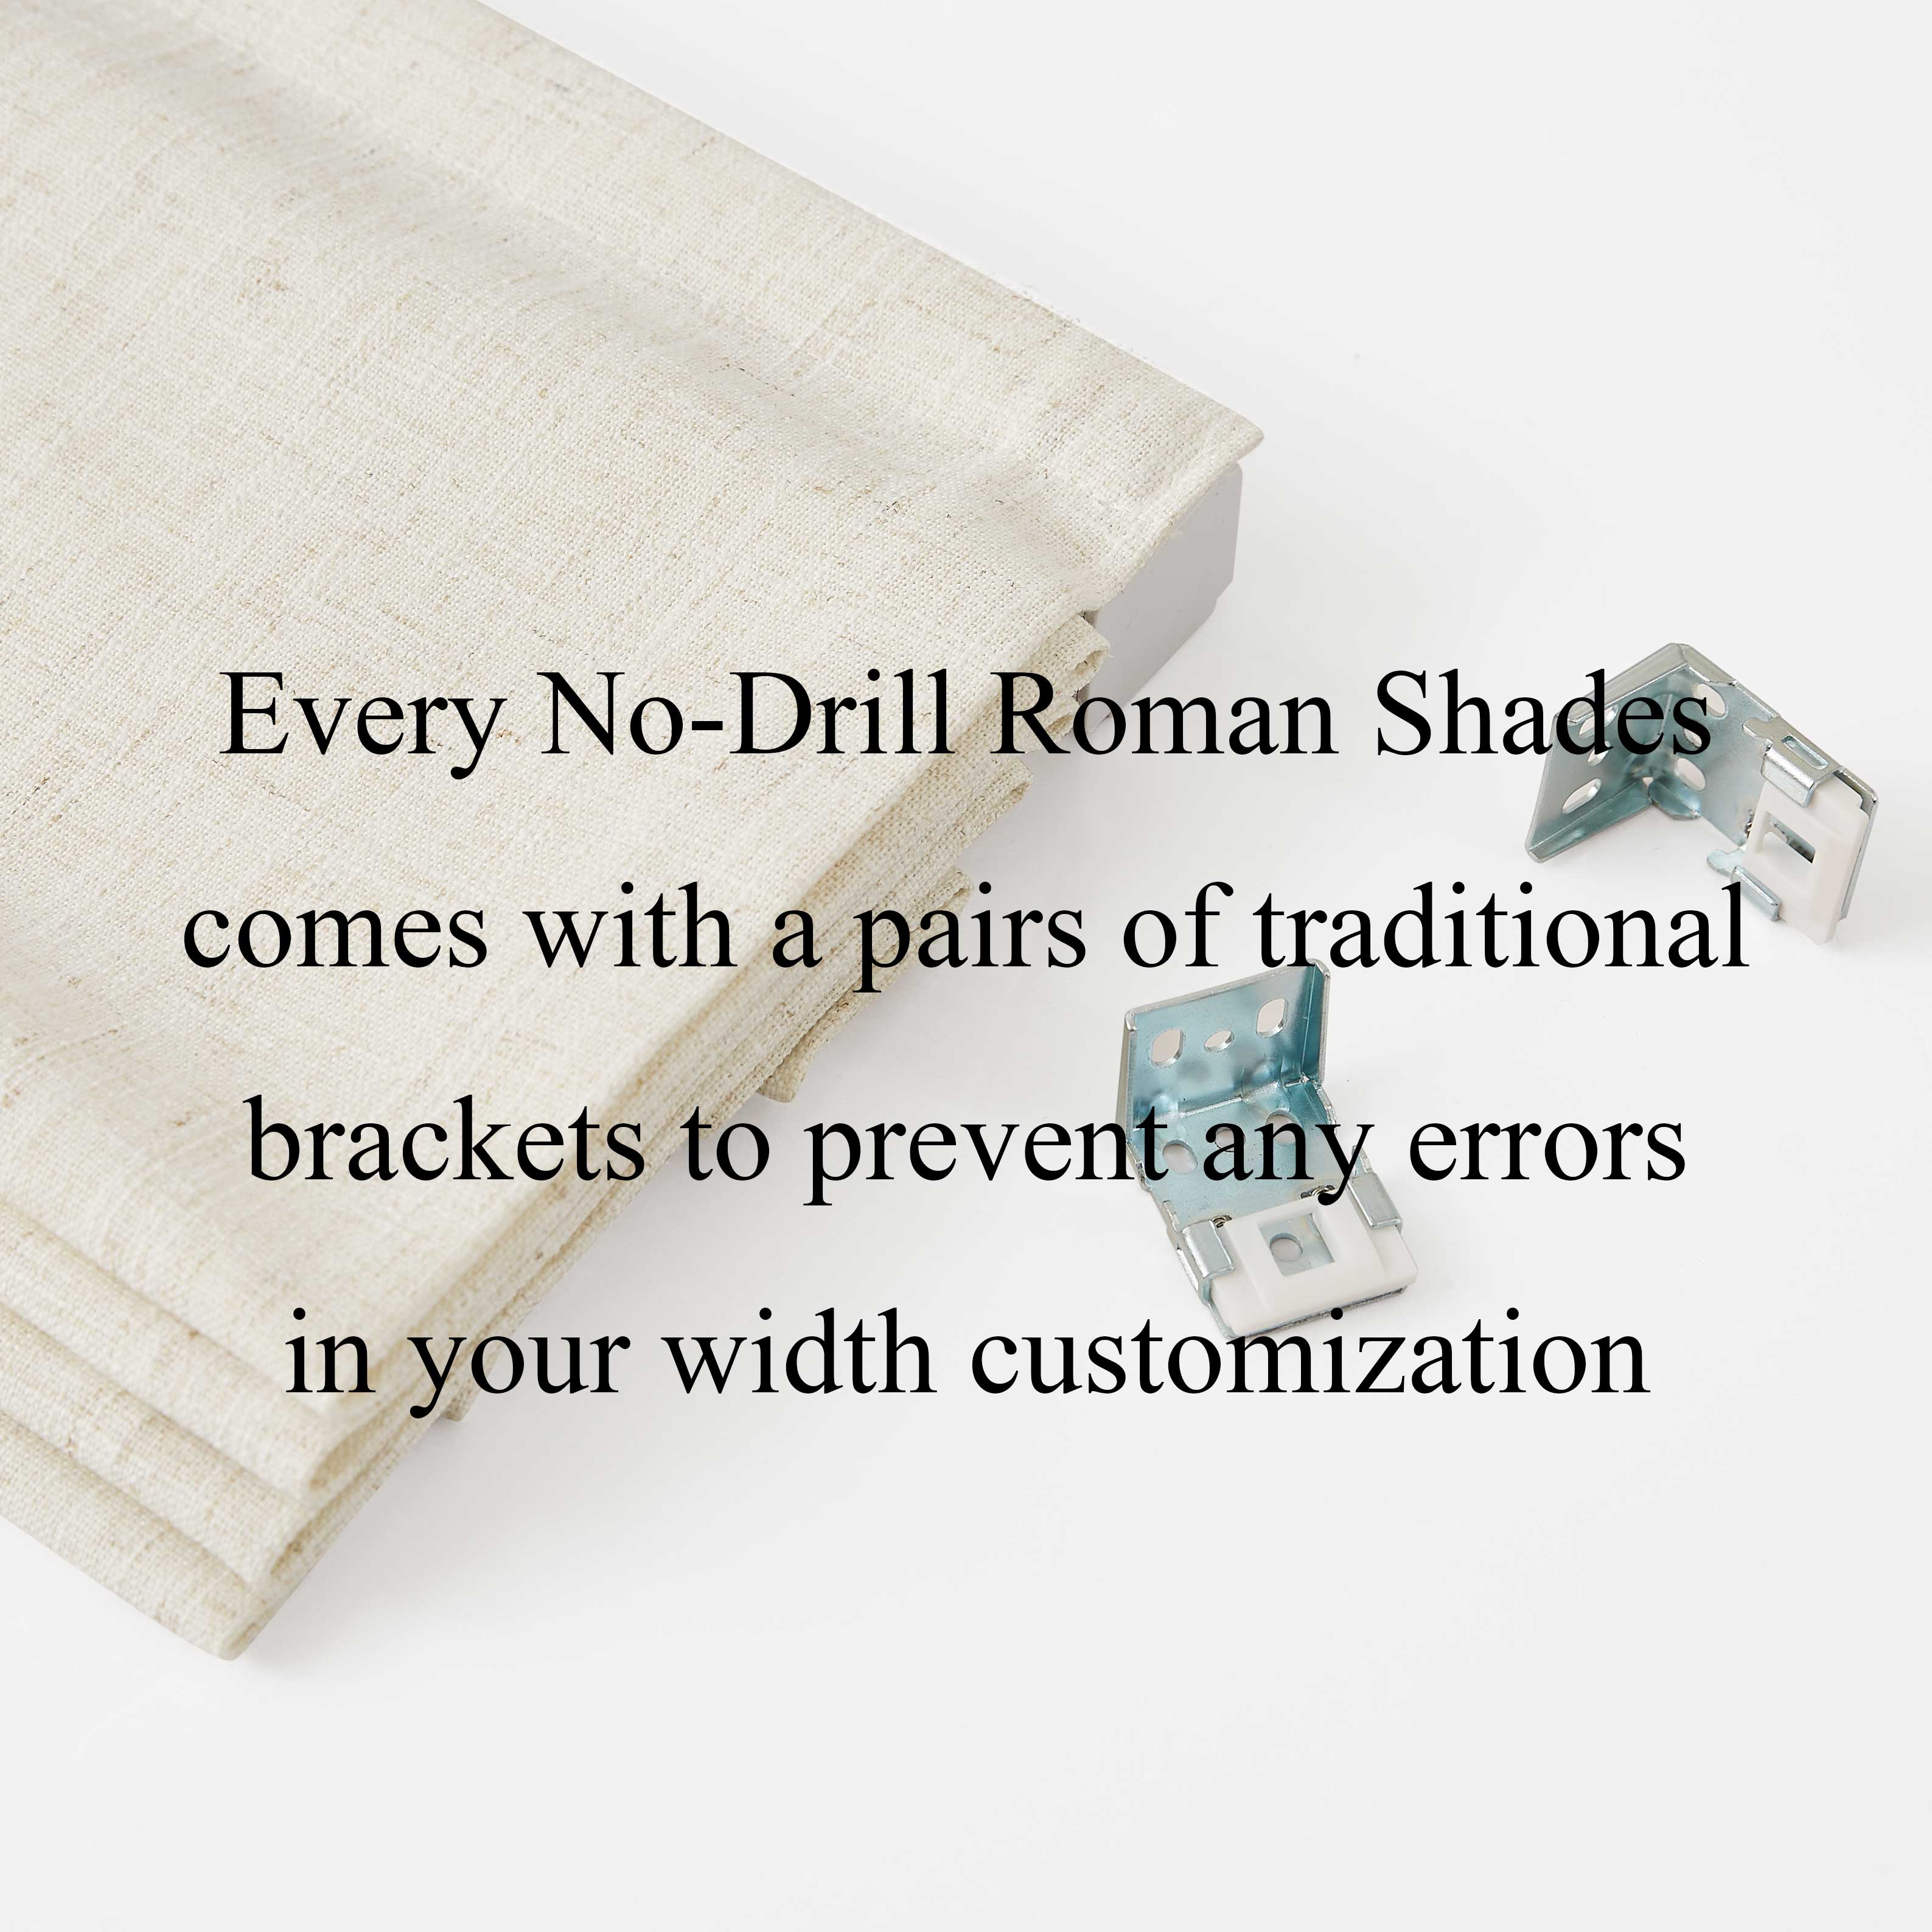
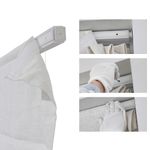
Step 1: First, check that your package includes two silicone pads and one hex wrench. Place the silicone pads on both sides of the shade's top track.
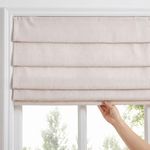
Step 2: Position the spring-loaded side against your window frame, compress the shade inward, place the non-slip side against the opposite frame, and release to lock it in place.
Step 3: Use the included hex wrench to tighten the spring mechanism. The mechanism will lock securely—no drilling, no damage.
Note: In general, lighter fabrics and smaller sizes are optimal for No-Drill installation. Tiled and wooden surfaces provide stronger support than plaster walls.
Step 1: First, check that your package includes two silicone pads and one hex wrench. Place the silicone pads on both sides of the shade's top track.
Step 2: Position the spring-loaded side against your window frame, compress the shade inward, place the non-slip side against the opposite frame, and release to lock it in place.
Step 3: Use the included hex wrench to tighten the spring mechanism. The mechanism will lock securely—no drilling, no damage.
Note: In general, lighter fabrics and smaller sizes are optimal for No-Drill installation. Tiled and wooden surfaces provide stronger support than plaster walls.